What Is A Video Layer

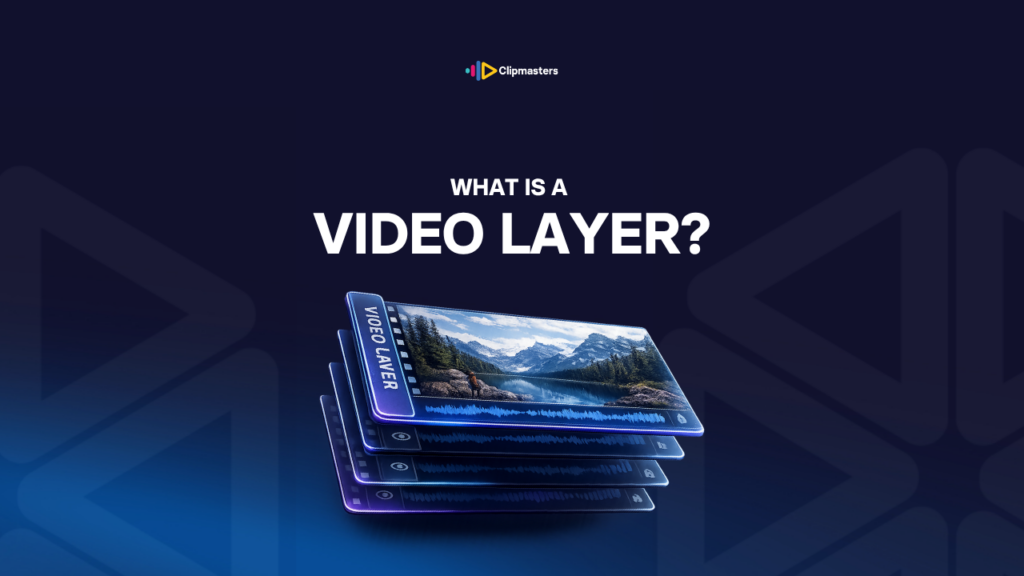
A video layer is a stacked video track in an editing timeline, holding footage, graphics, or effects that combine with the layers below.

In this article

Related Terms

Start Video editing now

What is a Video Layer?

A video layer is a row in your editing timeline that holds video, graphics, or effects. It is also called a video track.

These rows stack on top of each other. Whatever sits on an upper layer shows up in front of whatever is below it in the final video.

Layers are the heart of how modern editing software works. They let an editor:

  • Show a few things at once, like a video plus a logo plus a title plus a subtitle.
  • Build a single picture out of many pieces.
  • Add an effect to one element without touching the others.
  • Make detailed motion graphics with lots of moving parts.
  • Keep spare versions on hand, like an extra take hidden on its own layer until it is needed.

The usual layer setup looks like this:

  • Bottom layers. Your main footage that fills the screen. This is usually the core of the video.
  • Middle layers. Extra visuals, like graphics, motion graphics, overlays, or second pieces of footage.
  • Top layers. Things that need to sit in front of everything else, like titles, captions, and watermarks.

Editing timelines also have audio layers. They work the same way, just for sound. You might have separate tracks for voices, music, sound effects, and background noise.

Layers can also blend together in different ways:

  • Opacity. Each layer has its own opacity, which sets how see-through it is.
  • Alpha channel. A layer with built-in transparency lets the layers below show through the clear spots.
  • Blend modes. Each layer can use a blend mode to mix with the layers below in a certain way.
  • Effects. Effects can be added to one layer so they only change that layer.
  • Position and scale. Each layer can be moved and resized on its own.

How many layers you can have depends on your software. Most modern programs handle hundreds of them. In practice, your computer slows down long before you hit that limit.

Need editors who handle complex multi-layer projects?

Editors matched to your brand. Turnaround in as little as 24 hours.

Why layers matter

Here are a few clear reasons layers are so important.

They let you combine many elements. Most videos are not just one clip playing alone. They have logos, titles, captions, and motion graphics that all need to show at the same time. Layers make that possible.

Each piece stays separate. You can change one layer without touching the rest. Color grading the video layer does not change how the graphics look. A tweak on one layer stays on that layer.

Your originals stay safe. Layers do not change the source files. The system just records what should appear where. So you can undo, redo, or rethink any edit freely.

Effects go exactly where you want them. You can add an effect to one layer only. A blur on the background does not touch the title. A color fix on the talking head does not touch the lower thirds.

You can keep options open. Different versions of an element, like alternate takes or graphics choices, can live on separate layers. You hide the ones you are not using and compare options fast.

Complex work gets built layer by layer. Motion graphics and visual effects are made from many layers stacked together. Each layer is one piece, and together they make the finished shot.

Audio mixes the same way. Separate tracks for voices, music, sound effects, and background let you adjust each one on its own for volume, balance, and effects.

You can manage performance. Heavy layers can be turned off while you edit, then turned back on for final review. This keeps things running smoothly without losing any work.

Templates speed things up. Many programs let you save a layer setup and reuse it. A brand’s standard layer layout makes new videos faster to build.

A tidy timeline tells its own story. A project with clearly labeled layers shows how the edit was put together. Anyone making changes later can see what each piece is.

For paid work, layered editing is just the norm. Almost every project uses more than one layer. Motion graphics projects can have dozens or even hundreds.

For motion graphics in particular, managing layers well is a core skill. Big animations mean keeping many layers organized in a way that makes sense.

How layers are used in editing

Here is how working with layers actually goes day to day.

Add layers as you need them. Most software adds a new layer on its own when you drop content above what is already there. The timeline grows to fit the new piece.

Name your layers clearly. Layers called “Logo,” “Lower Third,” and “Background” are far easier to find than V1, V2, and V3. Most software lets you rename them.

Use color labels. Many programs let you color your layers. You might put graphics in one color, footage in another, and audio in a third. It makes the timeline easier to read at a glance.

Lock anything that is finished. Once a piece is done, you can lock its layer so you do not change it by accident. It stays put while you keep working elsewhere.

Solo or hide layers when you need to. Showing just one layer helps you sort out a problem. Hiding a few layers cuts the clutter while you focus on something specific.

Group related layers. Some software lets you bundle layers into groups or nested pieces. This keeps things neat when you have a lot going on.

Think about the order. Layers higher in the stack show in front. So titles usually go near the top and backgrounds near the bottom. You will reorder layers as you build the picture.

Use the track controls. Mute, solo, and lock buttons let you manage what shows and what can be edited. They work a lot like the layer controls in photo software.

Keep big timelines under control. Long, busy timelines are easier to handle with good names, color labels, and a quick cleanup of unused layers now and then. A tidy timeline edits faster.

Nest sections when things get crowded. When a timeline gets too busy, you can tuck part of it into its own sequence. The main timeline then treats that section as a single layer, while the nested version keeps its own detail inside.

Leave notes on your layers. If someone else will pick up the project, or if you might return to it later, a few notes about what each layer does go a long way.

For most paid work, careful layer habits are what set professionals apart. Good organization speeds up the whole edit and makes future changes much easier.

Common layer mistakes

Here are a few habits that mark layer work as sloppy.

Unnamed layers. V1, V2, V3, V4 with no labels. Finding the right piece means hunting through them all. Naming each one takes seconds and saves real time later.

Layers in the wrong order. Something that should be in front ends up behind, or the other way around. Order matters, and the wrong order gives you the wrong picture.

Too many layers. Building something simple with more layers than it needs. The extra clutter slows you down and confuses whoever works on it next.

Too few layers. Cramming too much onto one layer, with several effects, cuts, and graphics piled together. Splitting the work across more layers makes it easier to manage.

Leftover layers cluttering the timeline. Old layers from ideas you dropped, still sitting there. They make navigation harder and can slow playback.

Layers that do not line up with the audio. A visual layer that does not match an audio cue. The sound lands at one moment and the picture at another. Viewers notice.

Effects on the wrong layer. An effect applied to the wrong layer in the stack gives you the wrong result. Double-check that each effect sits on the layer it should.

Ignoring blend modes. Treating every layer as solid when a blend mode could do something better. You miss creative options.

Heavy work without proxies. Too many layers and no proxy editing leads to performance trouble. The project gets hard to edit smoothly.

Skipping locks on finished layers. A done layer gets changed by accident during later work. Locking it prevents that.

No notes on complex stacks. You come back months later and cannot tell what each layer does. A few quick notes during the work save hours of digging.

For paid work, layer organization is part of editing well. Good habits make the work faster, the changes easier, and the final files more reliable.

How Clipmasters Uses This

Layers are the backbone of every edit, and keeping them tidy is one of the quiet skills that separates a pro from everyone else. At Clipmasters, your dedicated editor names, colors, and locks layers as a normal part of the work, so your project file stays clean. That means faster revisions for you, and a video that comes back ready in as little as 24 hours on simple edits.

Frequently asked questions

How many video layers can I have in a timeline?

Most modern editing software handles hundreds of video layers. Premiere Pro, DaVinci Resolve, and Final Cut Pro all manage large numbers with no trouble. In practice, your computer slows down before you reach the software's limit, so complex stacks may need pre-rendering or proxies to stay smooth.

What's the difference between a layer and a track?

They mean the same thing in most cases. "Track" is the older word, used more with audio, while "layer" is more common in compositing and motion graphics. In editing software, a "video track" and a "video layer" both point to the same row in the timeline.

How do I organize my layers?

A few simple habits help: name layers clearly, use color labels by content type, lock the ones that are finished, group related layers when your software allows it, and clear out unused layers now and then. It takes very little effort, and it pays off in faster work and easier changes.

Should I keep alternate versions on separate layers?

Often, yes. Keeping alternates on their own layers, with the unused ones muted, lets you hold onto options without cluttering the picture. You can switch between versions quickly. Deleting them means losing the choice for good.

What's a nested sequence?

It is a timeline packed into a single piece that you can drop into another timeline as one layer. Nesting lets you treat a complex section as a single element, which keeps your main timeline simpler. It is especially handy for motion graphics, repeated graphics, or detailed sub-sections.

Loading video…