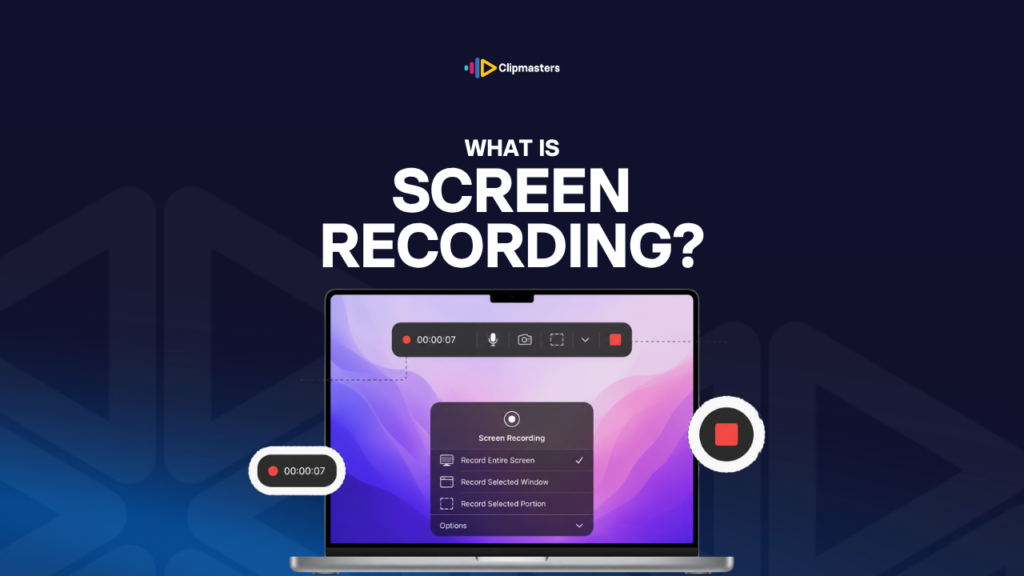
Screen recording captures whatever is on your computer monitor or phone screen and saves it as a video file. Think of it like a camera pointed at your screen, catching what would otherwise vanish the moment it leaves the display.
What you get is a normal video file, like an MP4 or MOV, that you can edit just like any other footage.
Screen recordings show up in all kinds of places:
Most computers and phones can record the screen right out of the box. On a Mac, you use QuickTime or the shortcut Shift-Cmd-5. On Windows, you use the Xbox Game Bar (Windows-G) or a third-party tool. iPhones and Android phones have screen recording built into the control panel.
For professional work, dedicated tools like OBS, Camtasia, Loom, ScreenFlow, or Screen Studio give you more control over quality, file size, and editing.
The screen recordings that look professional tend to share a few habits.
High resolution. Capture at the highest resolution your screen and software allow. A 4K recording keeps text crisp even when you scale it down or crop in. A low-resolution recording leaves text muddy and icons blurry.
Clean cursor work. The cursor is what most people watch, so move it on purpose. Pause on the important parts. Avoid jerky, frantic movement. Some tools add a soft glow or click marker to the cursor to make it easier to follow.
Clear audio. A recording with bad audio is hard to watch, even if the screen looks perfect. Use a decent mic, like a lavalier, a USB condenser, or even AirPods Pro. Record somewhere quiet. Then clean up the audio in editing.
Capture a smaller area when you can. Recording a whole 27-inch monitor makes a huge file with most of the screen going to waste. Crop down to just the part that matters, like the app window or the browser tab. You get cleaner output and a smaller file.
Pacing. Speed up or cut around the dull bits, like loading screens and repeated clicks, when you edit. Most viewers don’t want to watch you slowly dig through menus. Get to the point.
Zoom and emphasis. When you’re pointing at something small, like a button or a line of code, zoom in or add a callout in editing. Viewers can’t always see what you mean, especially on a small screen.
Captions and annotations. Add on-screen text for key steps. Captions help people watching with the sound off, and annotations make the whole thing easier to follow.
The biggest gap between amateur and professional screen recordings isn’t the recording itself. It’s what happens after. A raw recording is usually a fair bit longer than the final cut. The trimming, zooming, captioning, and pacing in editing are what make it worth watching.
A few tools that come up again and again.
OBS Studio is free, open-source, and powerful. It’s the go-to for serious recording, live streaming, and gameplay. There’s a learning curve, but nothing else is quite as flexible.
ScreenFlow (Mac) and Camtasia (Mac and Windows) are mid-tier tools built for teaching content. Each one records your screen and edits the video in the same app, which is handy for tutorial creators who don’t want to jump between programs.
Loom runs in your browser and is made for quick video messages. It records your screen and webcam, then gives you a shareable link. It’s popular in tech and remote teams for short walkthroughs and feedback.
Cleanshot X and Screen Studio are newer Mac tools that produce polished, social-ready recordings right away, with automatic zoom-on-click and smooth cursor movement.
QuickTime (Mac) is built into macOS and handles basic recording for free. It’s limited, but reliable for simple captures.
Xbox Game Bar (Windows) is built into Windows and records for free. It’s made for gameplay but works for any app.
Phone built-in tools. iPhone and Android both have screen recording in the control panel. That’s plenty for most mobile capture.
If screen recordings are a regular part of your content, like for a software company or an online course, a dedicated tool like ScreenFlow, Camtasia, or Screen Studio earns its cost through faster work and cleaner output. For the odd recording here and there, the built-in tools are usually enough.
Raw screen recordings rarely work as-is. The editing pass is where they become watchable.
Trim hard. Cut anything that doesn’t serve the point: loading screens, aimless scrolling, accidental clicks, the “let me find that menu” moments. Most recordings get trimmed by a third to a half during the edit.
Speed up the slow parts. When something is slow but necessary, like filling in a form or clicking through a few menus, speed it up to 2x or 4x. Most people would rather watch a fast scene with a quick explanation than a slow one in real time.
Zoom in on the details. When you’re showing something small, like a tiny button or a chart label, zoom in during the edit. Most editing software does this with a simple scale animation.
Add callouts and arrows. Point to the thing you’re talking about. Don’t make viewers hunt for it.
Cut to your webcam for context. When you need to explain something tricky or move to a new section, cutting to a shot of you talking breaks up the screen and re-engages the viewer.
Use motion graphics for emphasis. Animated text, callouts, transitions, and section dividers turn a raw recording into something that feels designed rather than just captured.
Polish the audio. Reduce the background noise on your voice, add light EQ, even out the levels, and put music underneath at a low volume. These small touches make a big difference in how polished it feels.
For tutorials especially, the pacing choices in editing are what decide whether someone watches the whole thing or quits after two minutes. A raw recording tests a viewer’s patience. A well-edited one respects their time.
Screen recording is one of those formats where the edit does most of the heavy lifting. A dedicated editor who knows your brand will cut the dead time, speed up the slow parts, zoom in on the moments that matter, and add the callouts that guide a viewer through. The screen footage is usually fine as-is. The editing is what turns a ten-minute slog into a tight, watchable tutorial.
You have two built-in options. Press Shift-Cmd-5 to open the screen recording bar (it records the whole screen or just an area you select), or use QuickTime's File > New Screen Recording. Both make MOV files. For more features, third-party tools like ScreenFlow, Cleanshot X, Screen Studio, or OBS Studio give you better quality control and built-in editing.
Press Windows-G to open the Xbox Game Bar, which has a built-in recorder. For more features, grab OBS Studio (free), Camtasia (paid), or another tool made for professional capture. Windows 11 has better built-in options than Windows 10 did.
Use a real microphone, not the built-in laptop mic. A USB condenser ($100 to $300) gives the best quality, a lavalier mic plugged into the computer ($50 to $200) is easy to set up, and wireless earbuds with a mic (AirPods Pro work surprisingly well) are fine for casual recording. Record somewhere quiet, then clean up the audio in editing with noise reduction, EQ, and compression.
It depends on what you're doing. For free professional work, OBS Studio. For tutorial creators on Mac, ScreenFlow or Screen Studio. For tutorial creators on Windows, Camtasia. For quick video messages, Loom. For polished, social-ready output on Mac with little effort, Screen Studio or Cleanshot X. There's no single best tool. Each one fits a different workflow.
For social and short-form, aim for 30 to 90 seconds. For YouTube tutorials, 3 to 10 minutes is the sweet spot. For deep courses, individual videos can run 10 to 20 minutes. The rule of thumb: make it as long as the content needs and no longer. Most raw recordings can be trimmed by a third to a half in editing without losing anything important.